Magento facilitates to set up and manage multiple stores in a single Magento backend. This feature is perfect for store owners when they decide to expand the business or wants to control multiple stores from a single administration or set up stores for more than one locations. This guide will walk you through how to set up Magento 2 multi-stores.
Why choose Magento 2 multi-stores?
Magento 2 multi-store feature is specifically made for retailers who want to sell in different countries or having multiple brands to manage. So, if you are one of those retails who want to expand their business in distinct countries or own different brands then Magento 2 multi-store function is effective for you.
Moreover, a multi store is some independent stores (with distinct domains, skin, shipping, etc.) sharing a common magento 2 shopping cart. Magento 2 multi-stores is an awesome solution for independent stores to have a common shopping cart which facilitates to start selling online instantly. In short, Magento 2 multi-stores is a multi-vendor shopping cart. The benefits of a multi-vendor shopping cart are:
- Helps distinct merchants to sell and control their products in a single place with a common storefront and product catalog
- Easily to build an online marketplace
- Fast and effortless to configure payment and shipping methods, adjust settings and products, manage of what is added to the product catalog.
- Use single payment gateway in all the stores to save cost and money
- Get unified support for all the generated stores while using extensions and integrations.
- Boilerplate content for the pages like terms and conditions, privacy policy, etc.
- Retain a common shoppers database to utilize in all the stores.
- Helpful in the responsive frameworks
What is Magento multistore?
It is important to understand clearly about multi store structure in Magento.
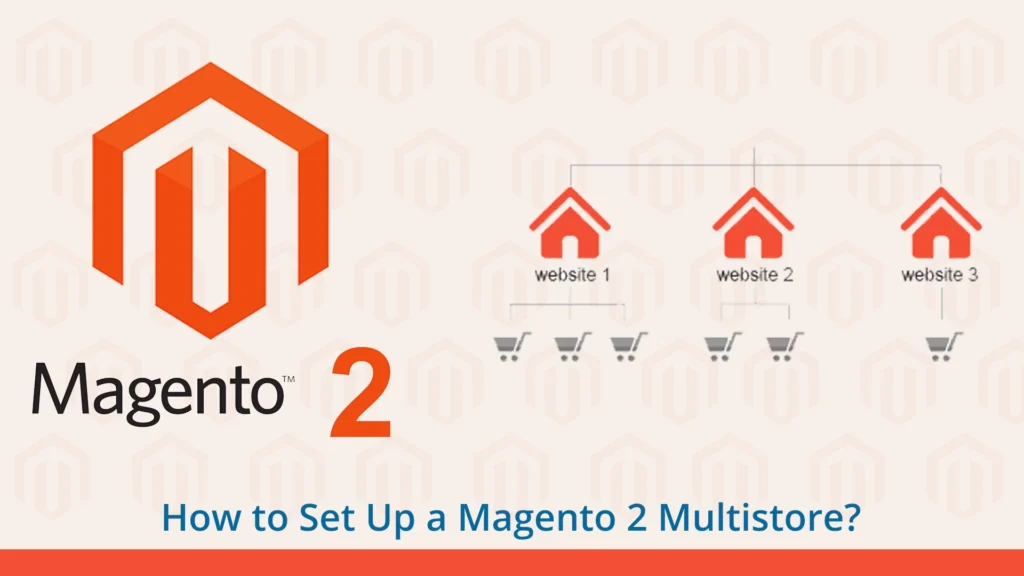
Magento Websites
When you install Magento, you get to operate only one website, which by default is named the “Main Website”. A retailer can also build some websites for a single installation, each of which has its have IP address and domain.
Magento Stores
One website can have various stores, each with its own main menu. Store have the same product catalog, but may vary in items and store design. All shop under one website get the same admin and cashier.
Magento Store Views
Each store, which is available to shoppers, is shown in accordance with a certain “type”. Originally, the store has one default view. Supplementary store views can be added to support various languages or for other intention. Visitors can utilize the language choice in the header to change the store view. In short, the largest entity is a Magento website that can combine several Magento stores. Magento stores, in their turn, can include a number of Magento store views.
How to set up Magento 2 multi-stores
Create a New Website
1.Login to Magento 2 Backend
2.Move to Store > Settings > All Stores.
3.On the stores page, click Create Website.
- Name: Type your website name.
- Code: Type the unique code for the website.
- Sort Order: It is an elective field and is set to maximum value ‘0’ by default.
4. Save Web Site.
Create a New Store
- Move to Store > Settings > All Stores.
- On the Stores page, click Create Store.
- Select the Website of your choice.
- Enter the Name for the Store.
- Select the Root Category that you want to show within that store. To add a new root category follow the steps below.
- Move to Product > Categories.
- Click Add Root Category in the left column of the webpage.
- Fill the Category Name, enable the category and Save the changes.
- Save Store
Create a New Store View
1.Move to Store > Settings > All Stores.
2. On the Stores page, click Generate Store View.
- Select the Store of your choice.
- Enter the Name of the Store View.
- Set the status Enabled.
3. Status is an unforced field. It is set to maximum value ‘0’ by default.
4. Save Store View
5. Check for Mode and Access Permissions Note:
Only freshers need to test for this step. It is asked to enable the developer mode.
- Give permissions to the below directories
chmod -R a+wX var

chmod -R a+wX app/etc

chmod -R a+wX pub
- The command to replace the mode is,
bin/magento deploy:mode:set developer
Alternative way:
- Move to app/etc/ and open env.php
- Adjust current application mode by MAGE_MODE’ => ‘default’ to MAGE_MODE’ => ‘developer’.
6. Create a New Website
6.1: Generate folder from your root directory eg. demo5, and copy the index.php file and .htaccess file from the Magento root directory to the directory generated for the new website within the Magento root directory.
6.2: Adjust the code of index.php into the following code snippet
<?php

require realpath(__DIR__) . '/../app/bootstrap.php'; // path of root magento bootstrap.php
$params = $_SERVER;
$params[\Magento\Store\Model\StoreManager::PARAM_RUN_CODE] = 'base'; // change this with the code you chose in step. 4
$params[\Magento\Store\Model\StoreManager::PARAM_RUN_TYPE] = 'website'; // store or website
$bootstrap = \Magento\Framework\App\Bootstrap::create(BP, $params);


$app = $bootstrap->createApplication('Magento\Framework\App\Http');
$bootstrap->run($app);
6.3: In the Admin, move to Stores > Settings > Configuration > General > Web.
6.4: From the Store View recorded on the top of the web-page, select a website, other than the default website.
6. 5: In the right panel, extend Base URLs. Cancel the selection of Use Default. Consider the below examples to enter the fields.
- Base URL : Fill the base URL.
- Base Link URL : Fill base link URL.
- Base URL for Static View Files(default value) : Fill URL for static view files.
- Base URL for User Media Files(default value) : Fill URL for media files. Enter the same in the fields under Base URLs (Secure) if needed for ‘https’ access.
7. Save Config.
8. Move to System > Tools > Cache Management and click Flush Magento Cache.
9. Now you can see the various stores and the store views in the browser by designating the corresponding URLs.
10. Utilizing SSH, generate the following symbolic links in the document root of your new domain, and change the path below with the full path to the document root of your Magento 2 Installation:
ln -s /home/example/example.com/html/app/ app
ln -s /home/example/example.com/html/lib/ lib
ln -s /home/example/example.com/html/pub/ pub
ln -s /home/example/example.com/html/var/ var
To finish, click Save Config.
Here’s a long tutorial, but hope that it’s helpful and work well for your own Magento 2 multi-stores. Our website also provide more useful Magento tutorials, you can visit it to get more. If you are planning to migrate your current website to the latest version, hire a Magento migration service provider for speedy growth of your business or Contact us lets set up a free consultation for you.


